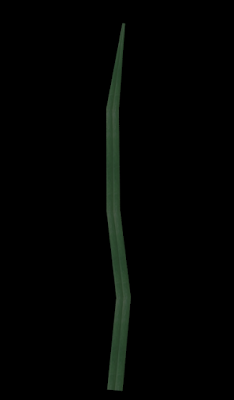
The next three shots below show the nodes and the parameters that control the shape and form of the grass blade:
The grass generator took some trial and error, a few iterations in order to get an agreeable result. Here are a couple of examples of assets that were precursors to the grass asset.
This grass blade looks nice, but has a problem.
It may be difficult to see in this shot, but the problem with this asset is that it is double sided, meaning it has 2x more polygons than necessary.
This is sort of a root/branch asset that is meant to be controlled by a curve, sticking out of a wall or the ground. This type of asset is too manual, and not ideal for populating an entire scene.
I was able to create a tree generator, which was by far the most complicated asset to create.
Here is a shot of the entire node network.
Here are close up views of the nodes:
Here are some additional examples of the variation that can be achieved with the asset:
I had an idea of a tree bridge asset, that could act as a bridge in the scene. I was able to acieve that with my tree generator asset:
I couldn't find a way to export procedural material color map textures from Houdini, so I I took real life reference textures of rock and tree bark. The idea is to use those to generate geometry displacement in Houdini, then bake those as texture maps. I thought that it would be most interesting to use real-life textures for the assets where it would be noticeable. I can still use material builder and attribute VOPs to create cool geometry effects which can be baked out in texture maps, then hand-paint in Krita. So, for master's thesis project work, I may have to hand paint over normal/displacement maps in Krita.
Some of these are better than others, so texturing of the trees is still in progress. The grass texture was created in Krita, hand-painted.


No comments:
Post a Comment